

Hey there! As a paint protection film (PPF) supplier, I've seen my fair share of installation challenges, and one of the most common headaches is dealing with air bubbles. Nobody wants those unsightly bubbles ruining the smooth, flawless look of a freshly installed PPF. So, in this blog, I'm gonna share the best ways to remove air bubbles from paint protection film during installation.
Why Air Bubbles Happen
Before we dive into the solutions, let's quickly talk about why air bubbles occur in the first place. When you're applying PPF, air can get trapped between the film and the surface of the vehicle. This can happen due to uneven application, improper squeegeeing, or just a bit of bad luck. The key is to catch these bubbles early and get rid of them before they become a permanent eyesore.
Tools You'll Need
First things first, you'll need the right tools for the job. Here's what I recommend:
- Squeegee: A good quality squeegee is essential for pushing out air bubbles. Look for one with a soft, flexible blade that won't scratch the film.
- Heat Gun: A heat gun can help make the film more pliable, allowing you to work out stubborn bubbles. Just be careful not to overheat the film, as this can cause it to warp or melt.
- Utility Knife: You might need a utility knife to cut away any excess film or to make small adjustments during the installation process.
- Soapy Water: A mixture of water and a little bit of dish soap can help lubricate the film, making it easier to slide into place and reducing the chances of air getting trapped.
Step-by-Step Guide to Removing Air Bubbles
Now that you have your tools ready, let's get into the step-by-step process of removing air bubbles from PPF during installation.
Step 1: Prepare the Surface
Before you start applying the PPF, make sure the surface of the vehicle is clean and free of any dirt, dust, or debris. Wash the area thoroughly with soap and water, and then dry it completely. You can also use a detailing spray to give the surface an extra clean.
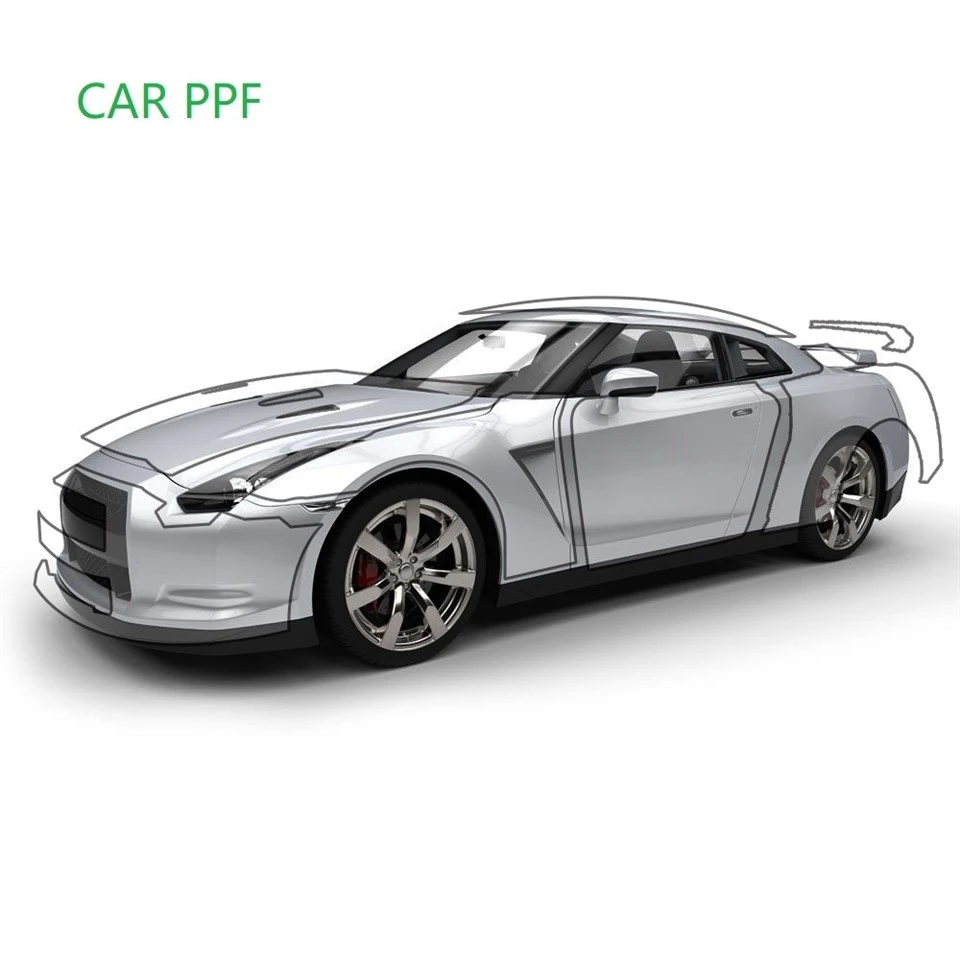
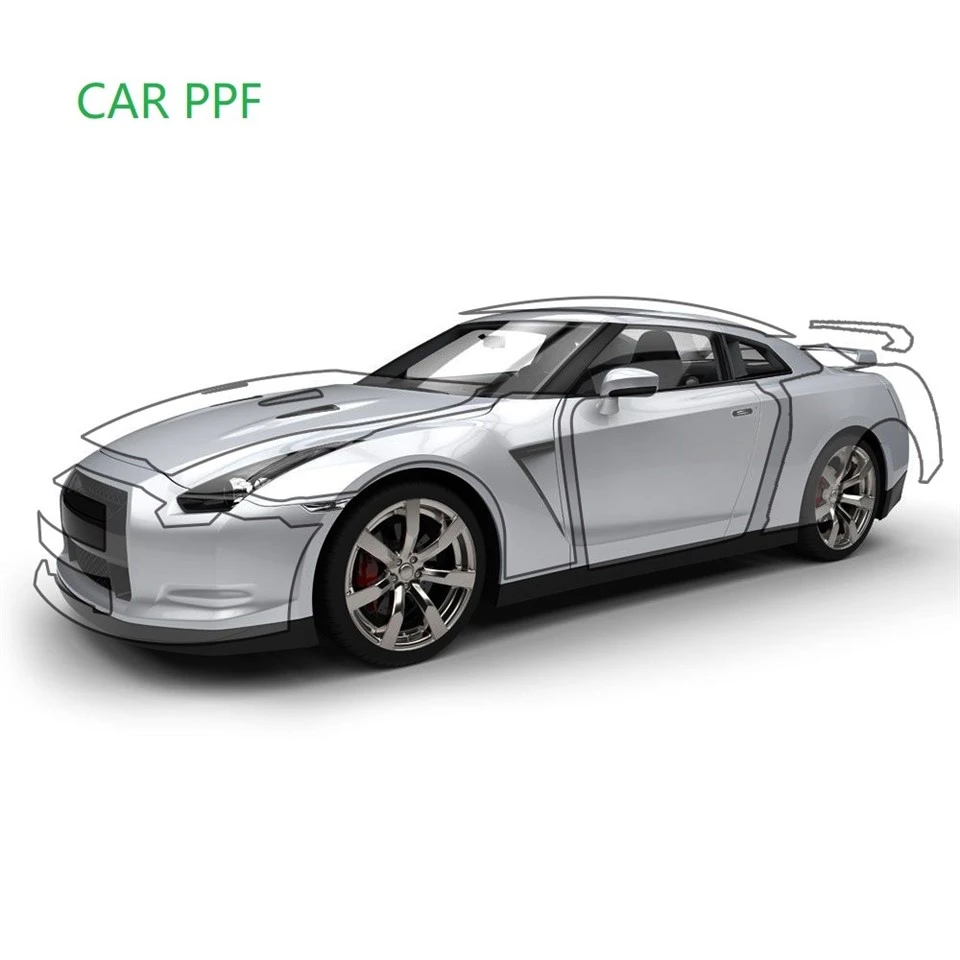
Step 2: Apply the Film
Carefully peel the backing off the PPF and spray the adhesive side with the soapy water mixture. This will help lubricate the film and make it easier to position. Place the film on the surface of the vehicle, starting from one end and working your way across. Use the squeegee to smooth out the film as you go, pushing out any air bubbles that may form.
Step 3: Remove Small Bubbles
If you notice small air bubbles during the application process, don't panic. You can usually remove them by simply using the squeegee to push the air out towards the edge of the film. Start from the center of the bubble and work your way outwards, applying firm, even pressure.
Step 4: Deal with Larger Bubbles
For larger bubbles, you may need to use a heat gun to make the film more pliable. Hold the heat gun about 6-8 inches away from the bubble and move it back and forth in a slow, circular motion. Be careful not to overheat the film, as this can cause it to warp or melt. Once the film is warm and pliable, use the squeegee to push out the air bubble.
Step 5: Make Small Adjustments
If you still have a few stubborn bubbles after using the heat gun and squeegee, you can try making small adjustments to the film. Use a utility knife to carefully cut a small slit in the center of the bubble. Then, use the squeegee to push the air out through the slit. Once the air is out, use the squeegee to smooth out the film over the slit.
Tips and Tricks
Here are a few additional tips and tricks to help you remove air bubbles from PPF during installation:
- Work in a Clean Environment: Make sure you're working in a clean, dust-free environment to reduce the chances of air bubbles forming. You can use a clean, lint-free cloth to wipe down the surface of the vehicle before applying the film.
- Take Your Time: Installation is a delicate process, so take your time and be patient. Rushing through the process can increase the chances of air bubbles forming.
- Practice Makes Perfect: If you're new to installing PPF, it's a good idea to practice on a small, inconspicuous area of the vehicle first. This will help you get the hang of the process and reduce the chances of making mistakes.
- Use a Quality Film: Not all PPFs are created equal. Using a high-quality film from a reputable supplier like us can make a big difference in the installation process and the final result. Check out our Paint Protection Film for Coating, PPF On Car, and Scratch Resistant TPU Film for some great options.
Conclusion
Removing air bubbles from paint protection film during installation can be a bit of a challenge, but with the right tools, techniques, and a little bit of patience, you can achieve a smooth, flawless finish. Remember to take your time, work in a clean environment, and use a quality film. If you have any questions or need further assistance, don't hesitate to reach out. We're here to help you make the most of your PPF installation.
If you're interested in purchasing our paint protection film or have any questions about our products, please feel free to contact us for a quote and to discuss your specific needs. We look forward to working with you!
References
- "Paint Protection Film Installation Guide" - Various industry resources
- Personal experience as a paint protection film supplier